CISCO Digital Network Architecture Center Workflow – Design
Cisco DNA Center is a device that plays a very crucial role in the software-defined access network. It is a GUI based controller which offers:
1. Intuitive management makes it fast and easy
2. Easy network designing
3. Easy applying policies across our network environment
4. Easy Provisioning
5. Easy Assurance
6. Intent-based network for the wired and wireless environment.
What is Cisco DNAC?
DNAC stands for Digital Network Architecture Center. A centralized device is known as DNAC or DNA-Center. Which acts as a controller on the top of a Campus network, Cisco refers to it as a “single pane of glass” that we feel is a fitting explanation. Because it reduces complexity with a centralized controller. The controller is used for creating software-defined access for the campus network and enables the business to deploy, manage, monitor, and troubleshoot entire enterprise, campus, and branch networks from a centralized GUI.
Cisco DNA Center not only allows us to design provision and policing to our network it also uses for analytic and monitoring, with using Cisco DNA assurance.


Design
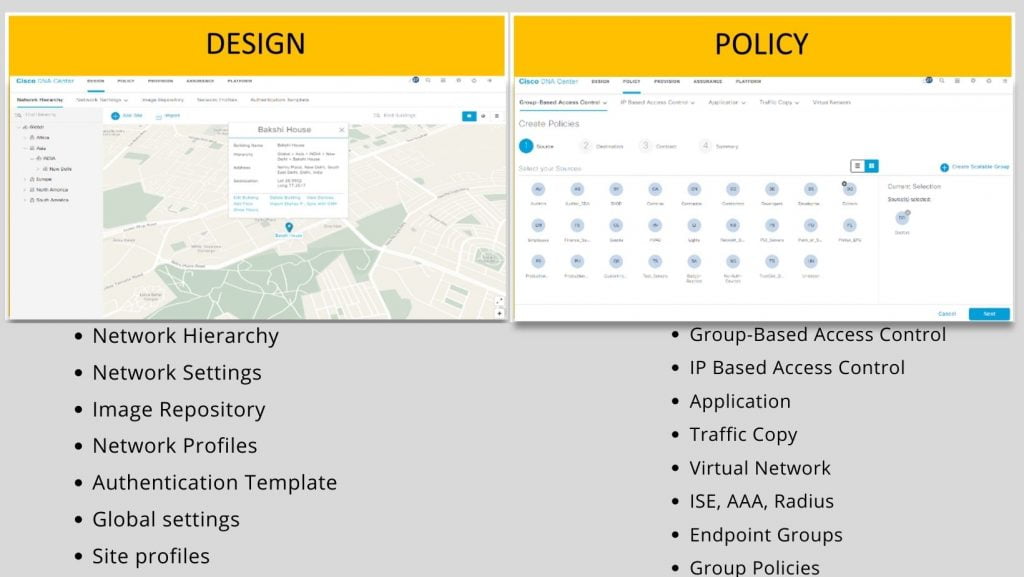
The design area is the area where we can create a structure and framework of the campus/enterprise network. Which include network hierarchy, network topology, network settings, etc.
Design is consisting of 3 steps procedure:
Step -1. Creating Network Hierarchy.
In the Design tool there are many “day-0” task is perform Starting from visualization of a network in the network hierarchy section (Design > Network Hierarchy).
This section allows us to define our network in custom ways as per our uses.
The very first thing we’ll have to define while designing the hierarchy of our campus or enterprise we stary with Global > Area > Building > floor
For example, Global (Global) >> Area (INDIA) >> Building (Bakshi house) >> Floor (3rd floor), 2nd Floor, 1st floor.
While assigning a building name it will ask for the physical address of that building, a building must represent an existing physical location. When defining a building in a design tool, an actual address is required. When we enter this info on the DNA Center design section the map on the screen automatically zooms to that building location.
The last but not the list element in the design section is adding a floor. At the floor level of this hierarchy section, we can import JPEG or. DWG (AutoCAD Drawings) or wireless heatmaps, this any of these formats: .jpg, .gif, .png, .dxf, and .dwg. are supported by DNA Center.
- Uploading image files can be of any size. DNAC imports the original image, but while displaying, it automatically resizes them to fit the workspace.
- After we add the floor, we can edit the floor map so that it contains, areas, and APs on the floor.
Having an accurate representation of the network hierarchy allows more specific configurations to each area to be used as per requirement.
For example; we can define on which building and on which floor a specific SSID should be broadcast, and the rest of the configuration will be done by DNAC, and we’ll get our desired result.
Step -2. Defining Global Network Setting.
We can create a network setting that becomes the default to our entire network there are two primary areas from where we can define the settings within the network. Once devices are discovered, DNA Center will deploy using these settings.
Global settings: Settings which defined hare will affect the entire network and including settings for server NTP, SYSLOG
You can define the following global network settings from Design >>Network settings.
- Network servers, such as AAA, DHCP, and DNS
- Device credentials, such as CLI, SNMP, and HTTP(S). we can Configure Global CLI Credentials, Global SNMPv2c Credentials, Global SNMPv3 Credentials, and Global HTTPS Credentials.
- IP address pools.
- Wireless settings as SSIDs, wireless interfaces, and wireless radio frequency profiles.
Step -3. Defining Network Profile.
From the Cisco DNA Center home page, choose Design > Network Profiles.
1. Routing and NFV
2. Switching
3. Wireless
Network profiles are created specifically for the devices such as routers, switches, wireless, firewall, and apply to them. The templates can be added to the network profile.
For example: For the LAN switches we want some specific configuration at the time of host onboarding, so what we can do is that we can create a template and add that template with the profile. And we can apply this network profile to the site for which the template should be applied.
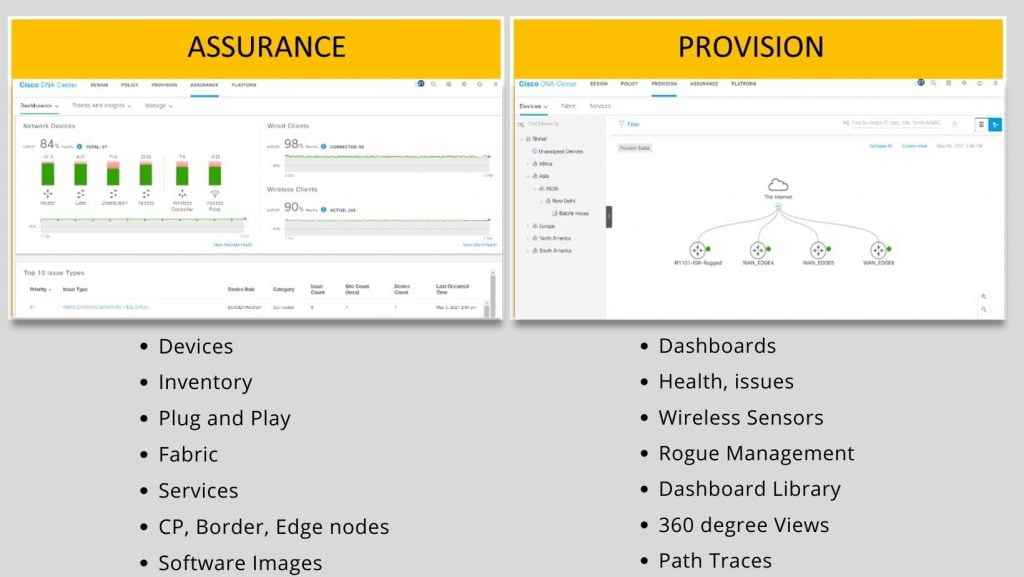
We’ll go in-depth into network profile how it works, how to make, etc. In another blog. This blog post is the first part of CISCO DNA CENTER WORKFLOW in this blog post is the first step DESIGN in the upcoming blog we’ll cover the remaining 3 Steps in detail POLICY, PROVISION, ASSURANCE.
At Zindagi Technologies, we have a team of certified Subject Matter Experts who specializes in SD-Access solutions. If you’re looking for Planning / Designing / Implementation / PoC services for SD-Access, reach us out at Zindagi Technologies Pvt. Ltd. Or call us at +919773973971.
Author
Ravi Kumar Singh
Network Consulting Engineer
