WLC Discovery & Configuring a WLC HA SSO Pair in SD-Access

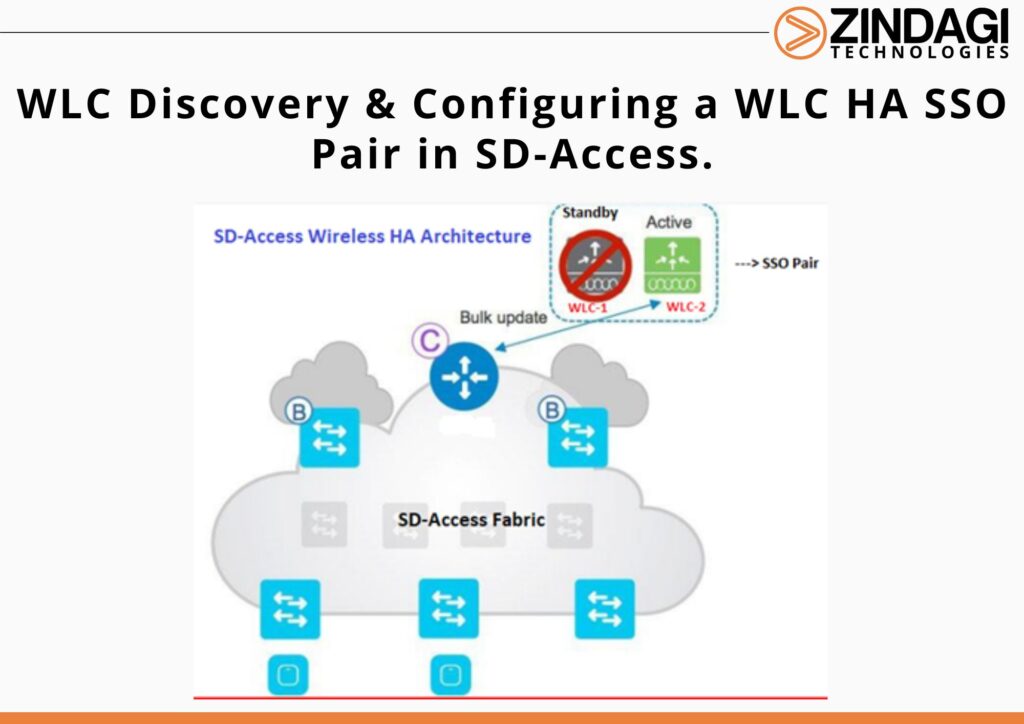
In this blog, we are going to discuss the WLC discovery process and the configuration steps for a WLC HA SSO pair in SD-Access (SDA). You can also refer to Basic Concepts of SD-Access Wireless.
The following section will be covered in this Blog:
- Steps for WLC Discovery via DNAC
- Steps for WLC HA SSO Pair configuration via DNAC.
We will talk about these things in detail in the below section.
Steps for WLC Discovery via DNAC
Step-1: Navigate to the main Cisco DNA Centre dashboard, scroll to the Tools section, click Discovery and supply a Discovery Name. Select Range and enter a start and end IP address for IP Ranges.
Step-2: Scroll down to verify the CLI credentials used for the discovery. If you have discovery-specific unique credentials for the device, click + Add Credentials add each new credential, save them, and then at the bottom click Start.
Step-3: If there are any discovery failures, inspect the devices list, resolve the problem, and restart the discovery for those devices along with any additional devices to add to the inventory.
Step-4: After successfully completing all discovery tasks, navigate to the main Cisco DNA Centre dashboard, and then, under the Tools section, click Inventory. The discovered devices are displayed. After inventory collection completes, each device shows a Managed sync status.
Cisco DNA Centre can now access the devices, synchronize the configuration inventory, and make configuration changes on the devices.
Steps for WLC HA SSO Pair configuration via DNAC
Cisco DNA Centre can be used to automate the configuration necessary to create an HA SSO pair between two WLCs which have been discovered and added to inventory.
Step-1: If we are creating an HA SSO pair with a set of controllers that are currently unpaired, go to the main Cisco DNA Centre dashboard, navigate to Provision > Devices > Inventory, click the text of the Device Name of the primary WLC, on the right side in the pop-out at the top select High Availability, under Select Secondary WLC select the second WLC in the HA SSO pair, supply Redundancy Management IP and Peer Redundancy Management IP, click Configure HA, and then at the reboot warning pop up, click OK.
On the browser, warning messages display.
Configuring HA for Primary. Please do not refresh the page …
Configuring HA for Secondary …
The reconfiguration and reboot can take many minutes.
Step-2: Use the refresh button at the top of the display to refresh the display until the WLCs in HA mode display one device. Check the HA status by clicking the next of the Device Name of the primary WLC, on the right side in the pop-out at the top select High Availability, and check that Redundancy State is SSO, and Sync Status is Complete.
This article explains how we discover a Wireless LAN Controller (WLC) in SD-Access Fabric Architecture and configure it in the HA SSO pair via DNAC. We hope that while going through this article, you will be able to understand the WLC discovery process and configuration in HA. This SDA Wireless provides a single management dashboard on DNAC by which we can discover the WLCs and can push the configuration accordingly. In the continuation of this blog series, we will discuss WLC provisioning for SD-Access Wireless fabric integration. You can also refer to another document for High Availability in SD-Access Wireless. You may visit Zindagi’s website or contact us at 9773973971.
Author
Sani Singh
Consultant – Enterprise Networking
