11 Steps Of FortiGate Firewall Installation in GNS3
We have been chasing technology in all possible ways and we try our best to keep on the same steps as the technology. To be sure that we are on the same platform, we need to practice the devices. For the practice, we would need a virtual environment. So why not start with the installation of the FortiGate Firewall in GNS3? The easiest way of installation in a limited specification of a machine has described below.
All the steps are to be followed in the right order and not even one step should be missed.
When you are trying to install FortiGate Firewall in GNS3 then you must ensure one thing that the GNS3 software version must be the same as the GNS3 VM version.
STEP 1
In my case, I installed GNS3 2.2.5 version on my laptop, and the same GNS3 VM version 2.2.5 was installed in VMware Workstation.
If you are curious about the installation of GNS3 VM in VMware Workstation, then you can contact us.
After successful installation of GNS3 VM, we will check the KVM support if it is available or not. If not, then you must enable Virtualization and verify that it is true.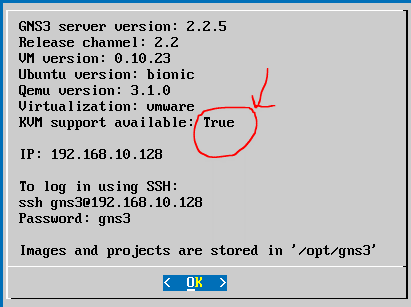
STEP 2
After opening GNS3, we will Configure GNS3 VM Server.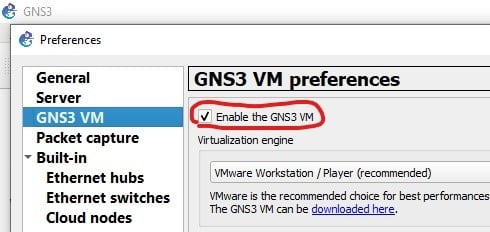
STEP 3
We will now click on “+New Template” which will open in a new window.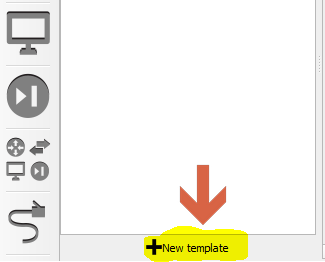
STEP 4
In New Template window we will Choose “Install an appliance from the GNS3 server (recommended)” and click on Next. 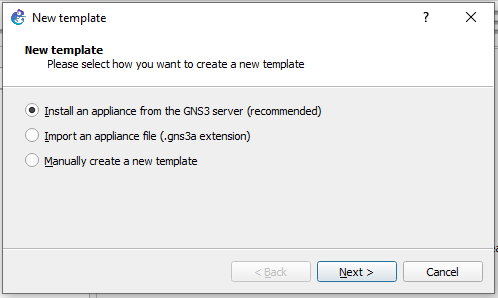
STEP 5
Next in Appliances Server Window, click to expand on Firewalls and then select FortiGate > Click Install to continue.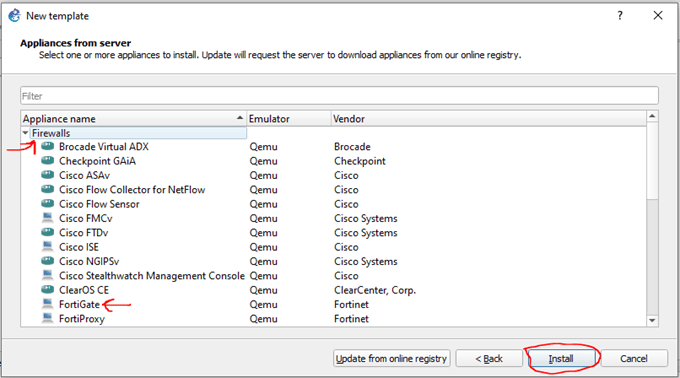
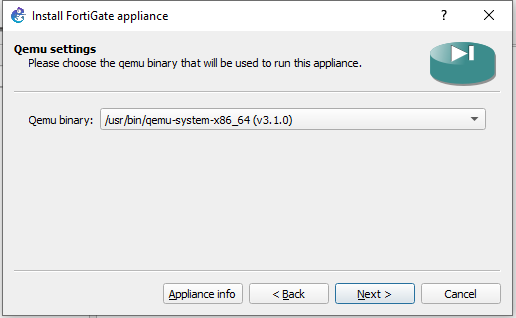
STEP 6
Since we have already selected GNS3 VM to run FortiGate, the other two options are not highlighted. Click Next > In Qemu Settings click Next.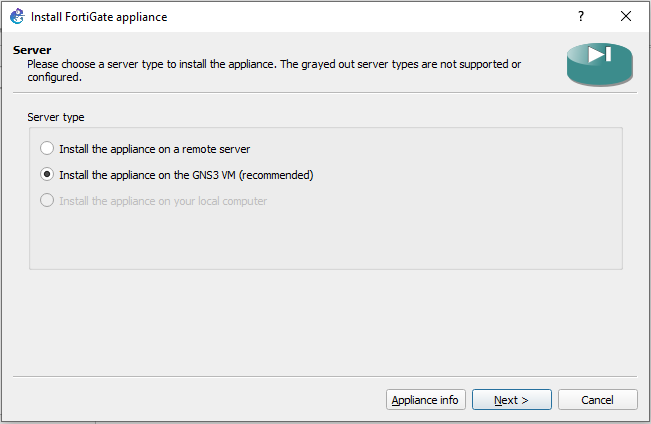
STEP 7
In this window, the list of FortiGate Firewall KVM image versions with extension .qcow2 is visible. The FortiGate version you have downloaded in your system will be displayed in green color here. Select the FortiGate VM and click “Next”.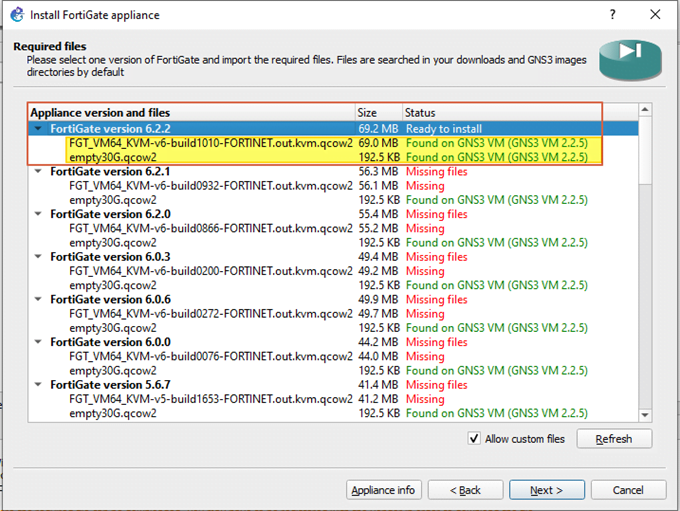
STEP 8
After you click Next, a confirmation message will be displayed. Click on Yes to install the appliance. The GNS3 will upload a copy of that file to the GNS3 VM.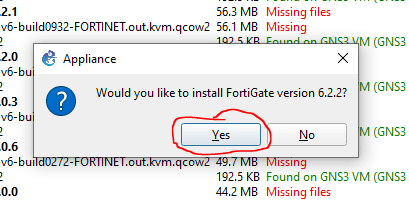
STEP 9
after the previous step, a new window will appear then click Finish to complete the appliance addition. You will see the Default Username and Password. 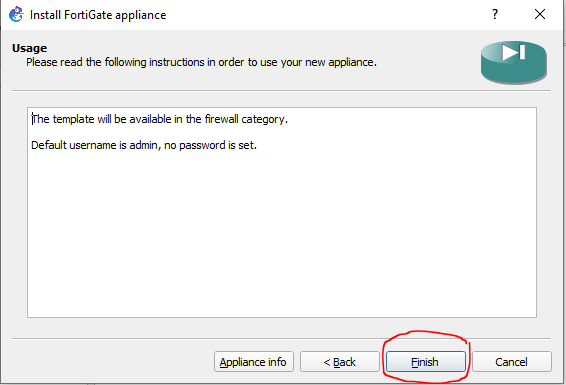
Our next step would be initial configuration to get the GUI access as we have completed all the steps of FortiGate VM installation in GNS3.
STEP 10
Post these steps, you will see FortiGate Firewall in the GNS3 toolbar. Now, you can create topologies with the new FortiGate appliance. Drag and drop the appliance from the GNS3 Toolbar to the GNS3 Workspace.
When you will create your topology then you need to start the appliance: Right-click on the Device and click Start.
To open a console to this device: Right-click on the FortiGate Device and click Console.
At the login prompt, type admin and press Enter.
The password area is blank by default and it may prompt immediately to change the password. You have to provide the password twice.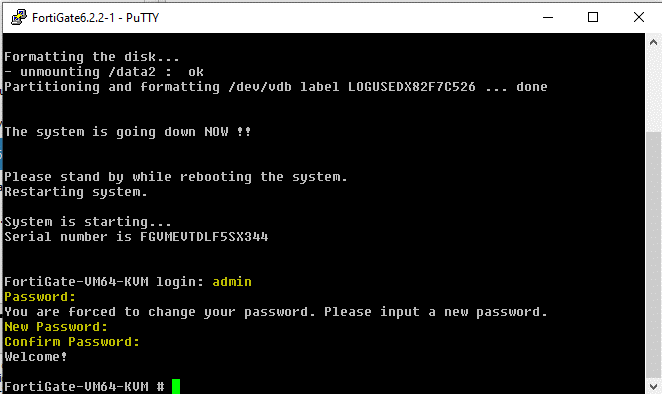
STEP 11
If you will connect the FortiGate Firewall with the DHCP server, then it will get the IP address details or you can configure the Firewall statically.
In my case, I configured it manually and set the IP address as 192.168.122.134 and it might be different in your case. Open Browser and enter IP in the URL bar.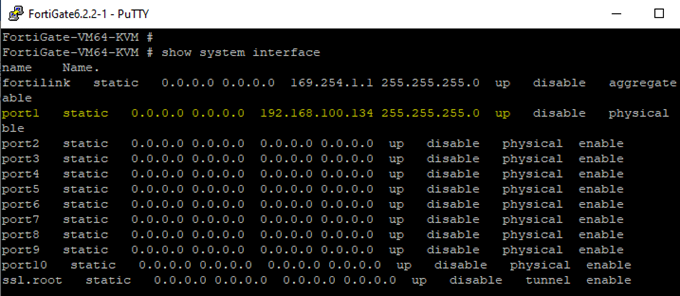 With the completion of the above steps, the successful installation and configuration of the FortiGate Firewall in GNS3 is completed. Now, you can create topologies with FortiGate.
We hope after reading this blog, it will be very easier for you to install the firewall in GNS3.
We also have written about the FortiGate Firewall and its use cases and about the FortiGate Firewall Installation in VMware Workstation.
Zindagi Technologies provides all the solutions related to Network and Security, Implementation, Data Center, Public Cloud, IoT, and other services too. If you are planning to install a Data Center or need any assistance to implement it in your network, then you can contact us or call us at +919773973971.
Author
Jagjeet Singh
Senior Network Security Consultant