Cisco AnyConnect Remote Access VPN Configuration on Cisco FTD
For remote users/employees of the company, connectivity with security is required to access resources and information of the office. Using Cisco AnyConnect and Cisco FTD we can achieve the same. We will configure RA VPN (Remote access VPN) in Cisco FTD and install Cisco AnyConnect software in the client system to achieve the requirement.
Preresiquites
– Import certificate for server authentication.
– Configure LDAP or RADIUS server for user authentication.
– Configure IP address is poor for remote users.
– Upload AnyConnect software.
Import Certificate
To generate CSR (Certificate Signing Request) first Go to Objects > Object Management > PKI > Cert Enrollment, click on Add Cert Enrollment: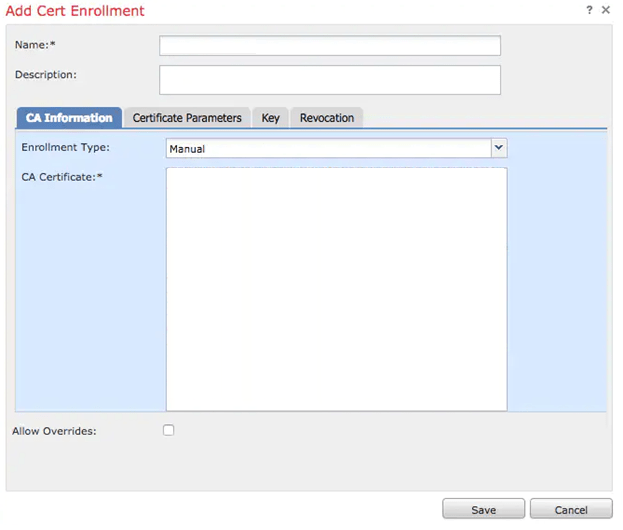
Select Enrollment Type “Manual “and paste Certificate Authority (CA) certificate.
Then go to the 2nd tab and fill in all the necessary fields as below-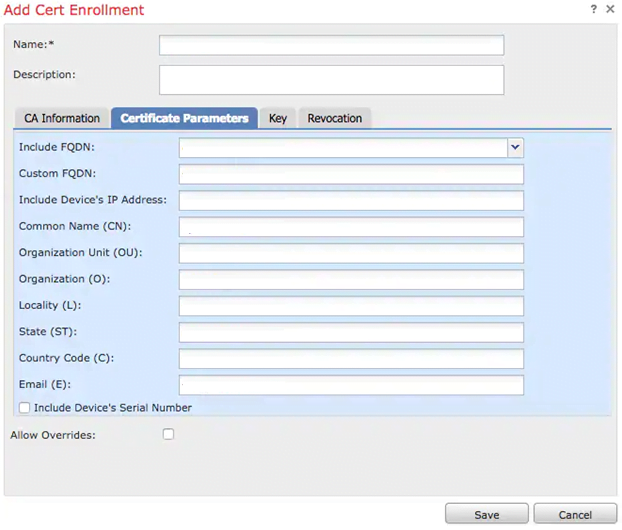
On the 3rd tab, select key type, choose name and size, and Click save
Then go to Devices > Certificates > Add > New Certificate. Then select Device, and under Cert Enrollment select the trustpoint which you just created, click Add: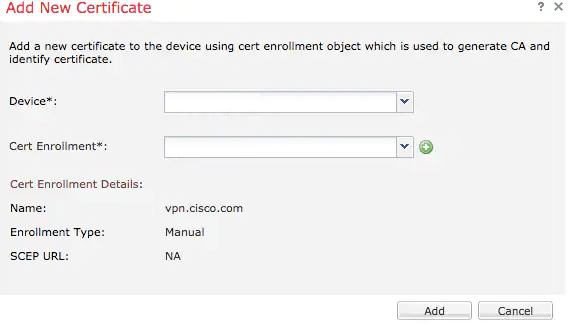
After that copy CSR to CA and sign it.
After signing the certificate from CA in base64 format, select it from the disk and click Import. When this succeeds, it should show as below-
Configure RADIUS Server
On FTD, the local user database can’t be used, so RADIUS or LDAP server will be required for user authentication. To configure RADIUS server details–
First go to Objects > Object Management > RADIUS Server Group > Add RADIUS Server Group. Fill in the name and add IP address along with the shared secret, click Save: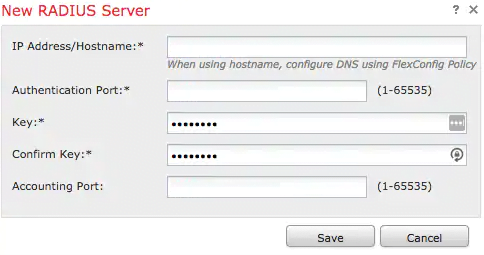
After that server should be visible on the list:
Configuring IP Addresses Pool For VPN Users
First go to Objects > Object Management > Address Pools > Add IPv4 Pools:
Put the name and range, mask.
Configuring XML Profile
First, download Profile Editor from the Cisco site and open it.
Then go to Server List > Add
Put Name and FQDN. You should see entries in Server List as shown below.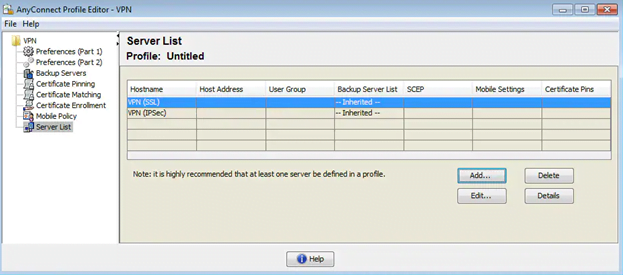
Click OK and File > Save as…
Uploading AnyConnect Images For VPN Users
First download images from the Cisco site.
Then go to Objects > Object Management > VPN > AnyConnect File > Add AnyConnect File.
Then type the name and select file from disk, click Save: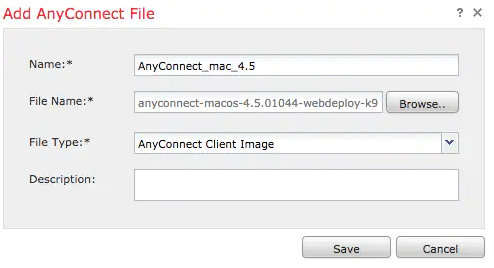
Configuring Remote Access Wizard
First, go to Devices > VPN > Remote Access > Add a new configuration.
Name the profile and select FTD device: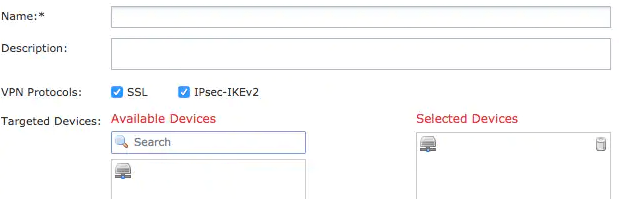
** Configure connection profile in ISE or LDAP server.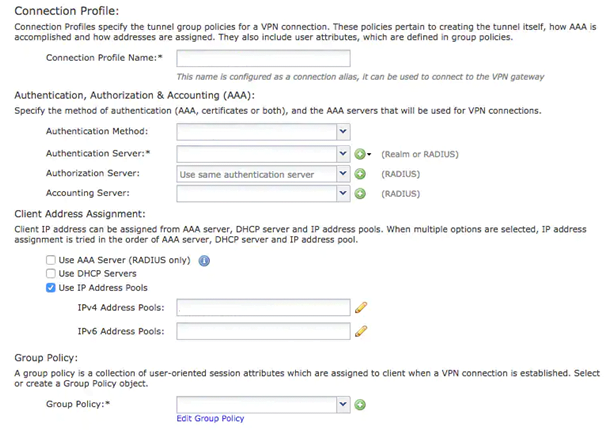
Then click on Edit Group Policy and on the tab AnyConnect, select Client Profile, then click Save: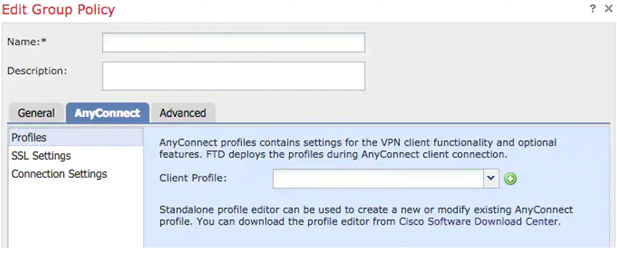
Then on the next page, select AnyConnect images and click Next:
Then on the next screen, select Network Interface and Device Certificates as shown below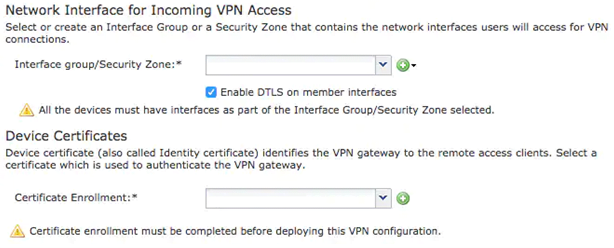
When everything is configured correctly, you can click Finish and then Deploy.
This Brings Us To The Conclusion That….
The above information will be useful for configuring RA VPN in your network so that your remote user can access the information and resource according to their requirement. The resources at Zindagi Technologies will be helping you if you would be facing any difficulty in deploying. We will make sure that you don’t face any challenges in deployment and have a smooth one. If you still face a challenge, then you can get in touch with us at +919773973971 as we have the best solution for your problem.
Author
Dipayan Sarkar
Network Security Consultant