How To Deploy And Configure Child Domain Controller In Windows Server 2016
Extra AD domain controllers are not recommended because they are hard to administer. However, you may need an extra domain (Child domain controller) in the following scenarios. In this blog, we will explore adding a child domain to an existing forest. The Active Directory Domain Services (AD DS) design teams have finished the design phase for the new AD DS environment and now it is time to add a new child domain to the environment. The domain name system must have been configured to support the new child domain.
Let’s understand in a simple way –
- Assume the two different companies have different hardware resources. Some prefer high-quality and reliable hardware, and some prefer to save money. It is preferable to have two separate domains on different hardware in this situation.
- The two companies have different IT support staff. Imagine a single domain and suppose if a technician set wrong permission unintentionally, it can cause e the whole AD date to be compromised.
In this blog, we will see how to deploy and configure a Child Domain controller on Windows server 2019 in a lab environment. The following steps are helpful to you.
Lab Scenario
- Deploy once PDC (Primary Domain Controller). In our case, we have a PDC.
- A static IP address was configured with the DNS entry pointing to the corporate DNS server.
- The Server DNS suffix has been updated on the new DC computer name.
- DNS has been configured with the child domain.
Now we add a Child domain on PDC.
Add a Child domain to Primary Domain.
Step-1 Open server manager dashboard and click Add roles and features.
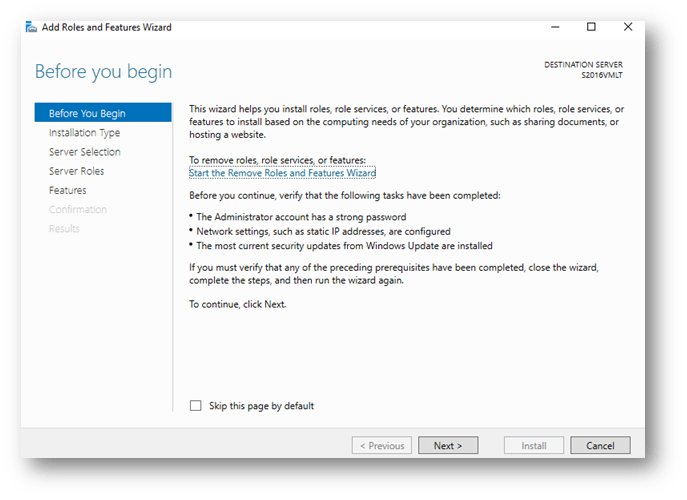
Step-2 Read prerequisite and click Next.
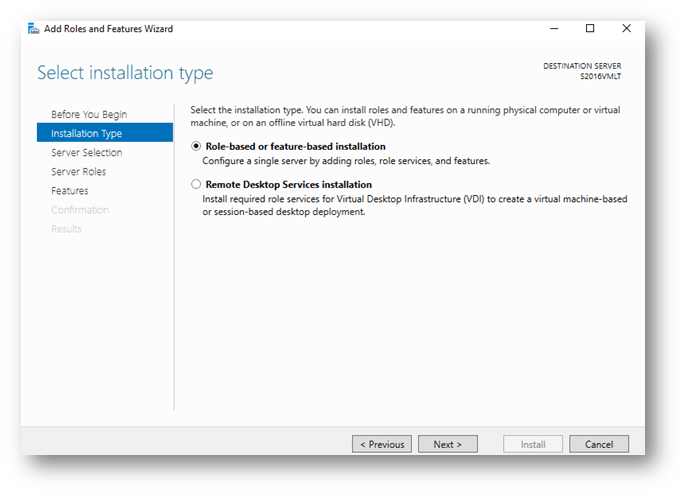
Step-3 Choose Role-based or feature or feature-based installation and click Next
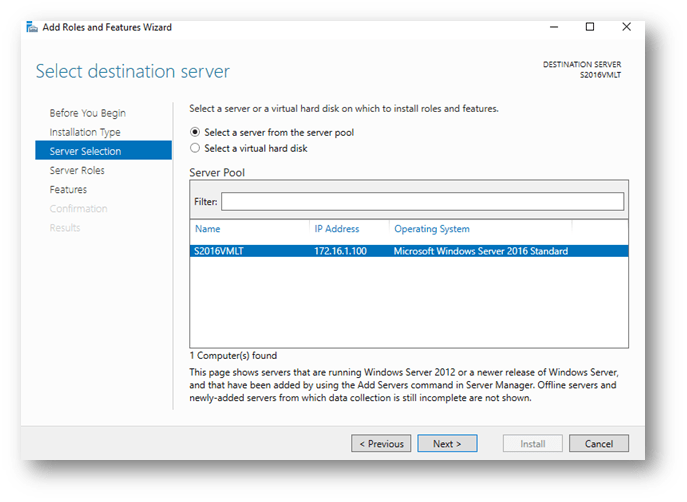
Step-4 Select the destination server on which you want to install the role and click Next.
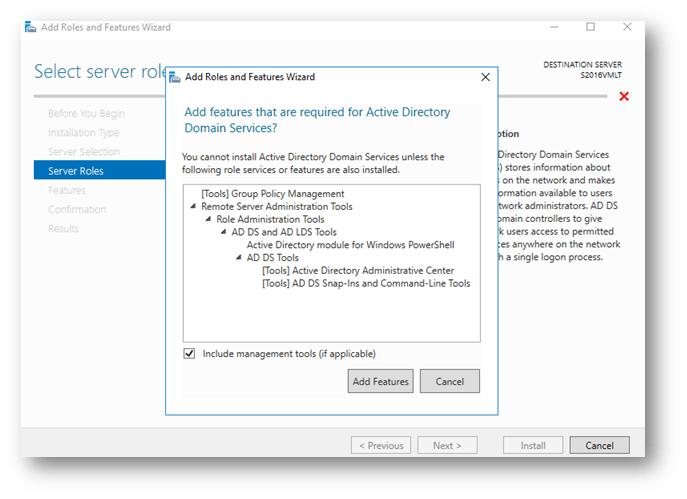
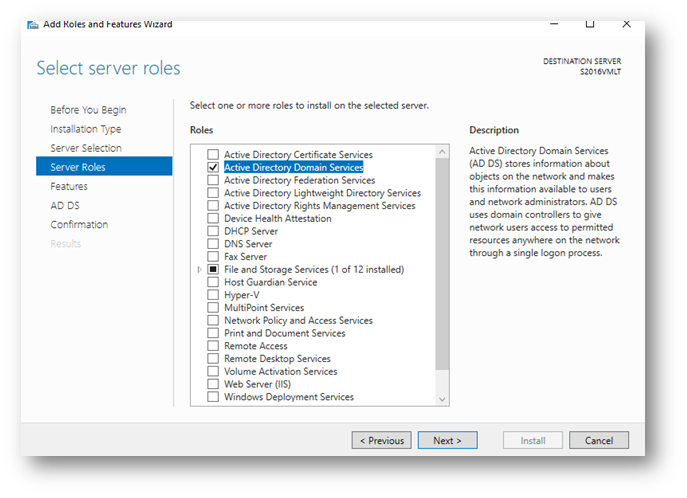
Step-5 Choose AD Domain Services from the server roles. As soon as you choose, a new will window popup, click Add Features.
Step-6 Click Next.
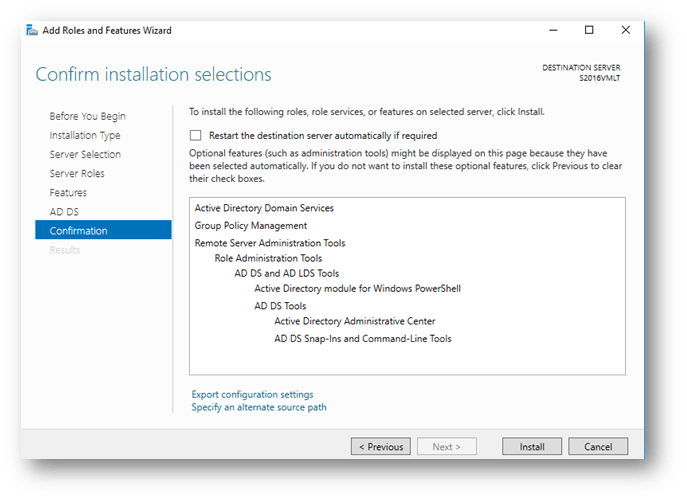
Step-7 Click twice, and after Confirm Installation wizard section click Install.
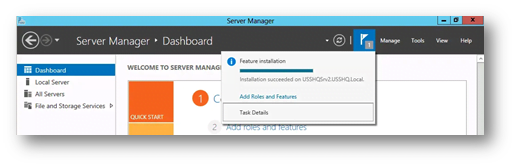
Here we installed our Roles and Features successfully. After installation, you close the above window you can click on the notification flag to check on installation status.
Step-8 Now we must configure the roles and features. Choose “Add n new domain to an existing domain”, “Child domain” from domain type, and provide a parent and new domain name. Click change to provide the credentials of a user who is part of the enterprise domain admin group. Click Next.

Inside this Deployment Configuration wizard –
Add a domain controller to an existing domain – when you have an existing domain, and you join a second server to in existing domain. Then you select this option.
Add a new domain to an existing forest – if you join a second server as a new domain or existing forest then you need to select this option.
Add a new Forest – If you create a new forest or new domain then select this option.
But in our case, we must join our second server as an existing forest, and we need to create a child domain, so we select the second option.
Specify the domain information for this operation –
Select domain type – inside drag and drop option please select Child Domain.
Parent domain name – inside this option, we insert our PDC (Primary domain controller) FQDN name.
New domain name – here we insert our child domain FQDN name.
Step-9 Select domain name system (DNS) server and global catalog (GC). Provide DSRM password and click Next.
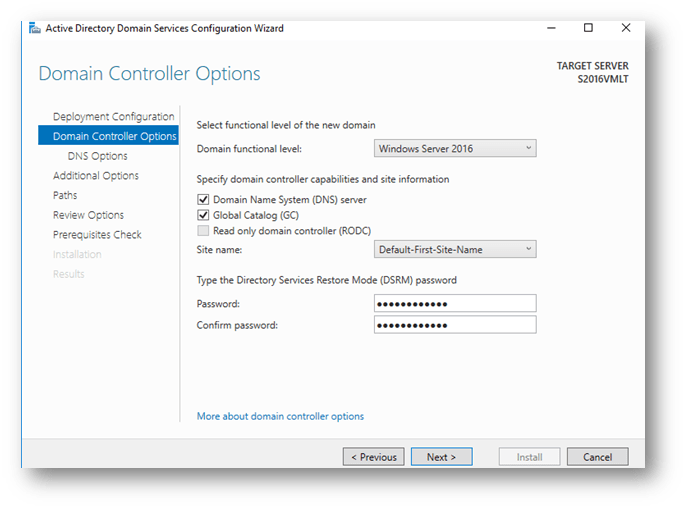
Inside the step 9 wizard Domain Controller Option, we select the Domain function level Windows Server 2016 and make sure the Domain Name System (DNS) server and all Catalog (GC) checkboxes are checked. Inside the DSRM password section, you need to insert a strong password.
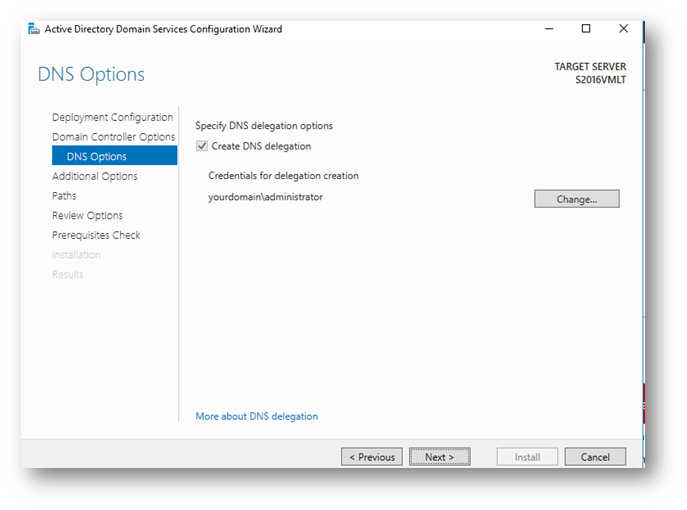
Step-10 Leave the default section and click Next.
Step-11 Click Next.
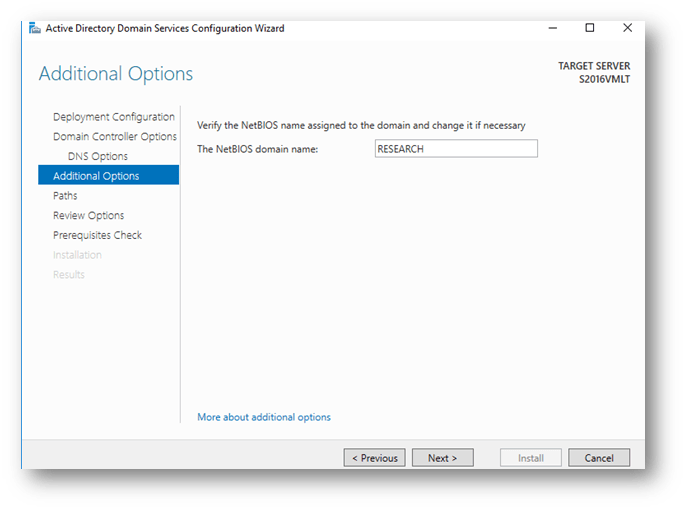
Here we saw that our NetBIOS name is visible.
Step-11 Click Next.
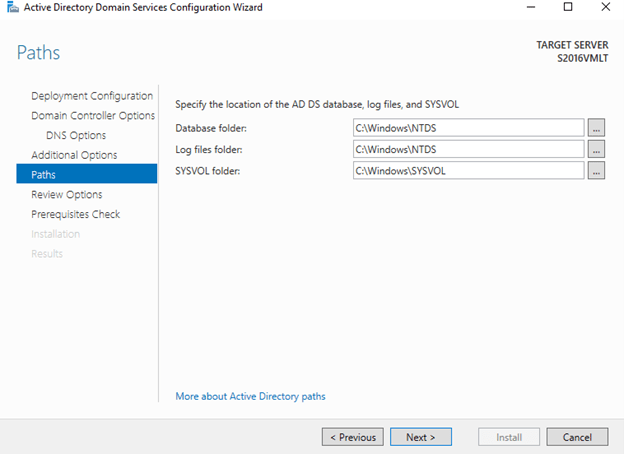
In step-11 here is the Specify the location of the AD DS database, log files, and SYSVOL. It means regarding the AD DS database all file logs files are stored inside this path. If you can choose another location, it could be possible. But here we are select by default path and click Next.
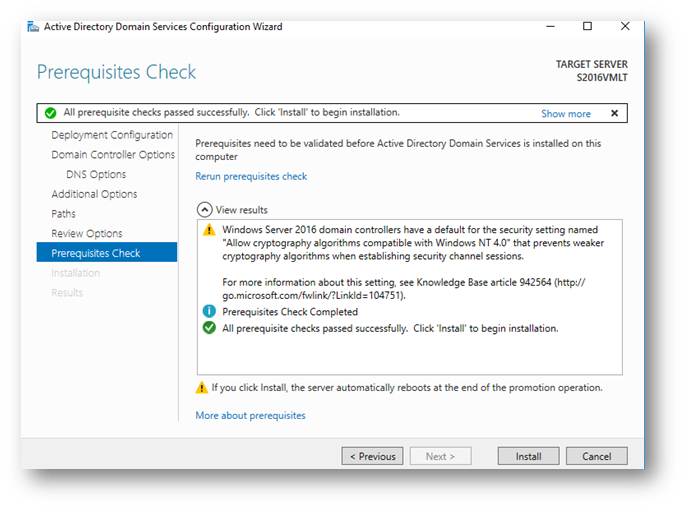
Step-12 Click Install and wait for the configuration to finish. This may take several minutes to complete.
Once the configuration is done, the system is rebooted. Upon rebooting you can login with a domain admin credential to the newly added child domain successfully installed and configured Child domain.
Zindagi Technologies is an IT consulting company that specializes in Data Centers, Managed IT Services, Cloud Services, Security Services, Design, Planning, and Implementation of different aspects. If you require any of our services for your organization then you can get in touch with us through email or you can give us a call at +91 97739 73971.
Author
Deepak Kumar
Linux and Server Administrator